For the past couple months, I've been working on building our iba paper goods home studio. As of this week, my husband and I choose the "perfect desk",
fingers crossed
. We will hopefully pick it up in a few weeks.
Aside from finding the right desk, I've also been on the hunt for a practical office chair, comfy rug and closet storage solution. My goal is to accomplish all of these tasks before summer comes to an end.
Do you have any office items you'd recommend?
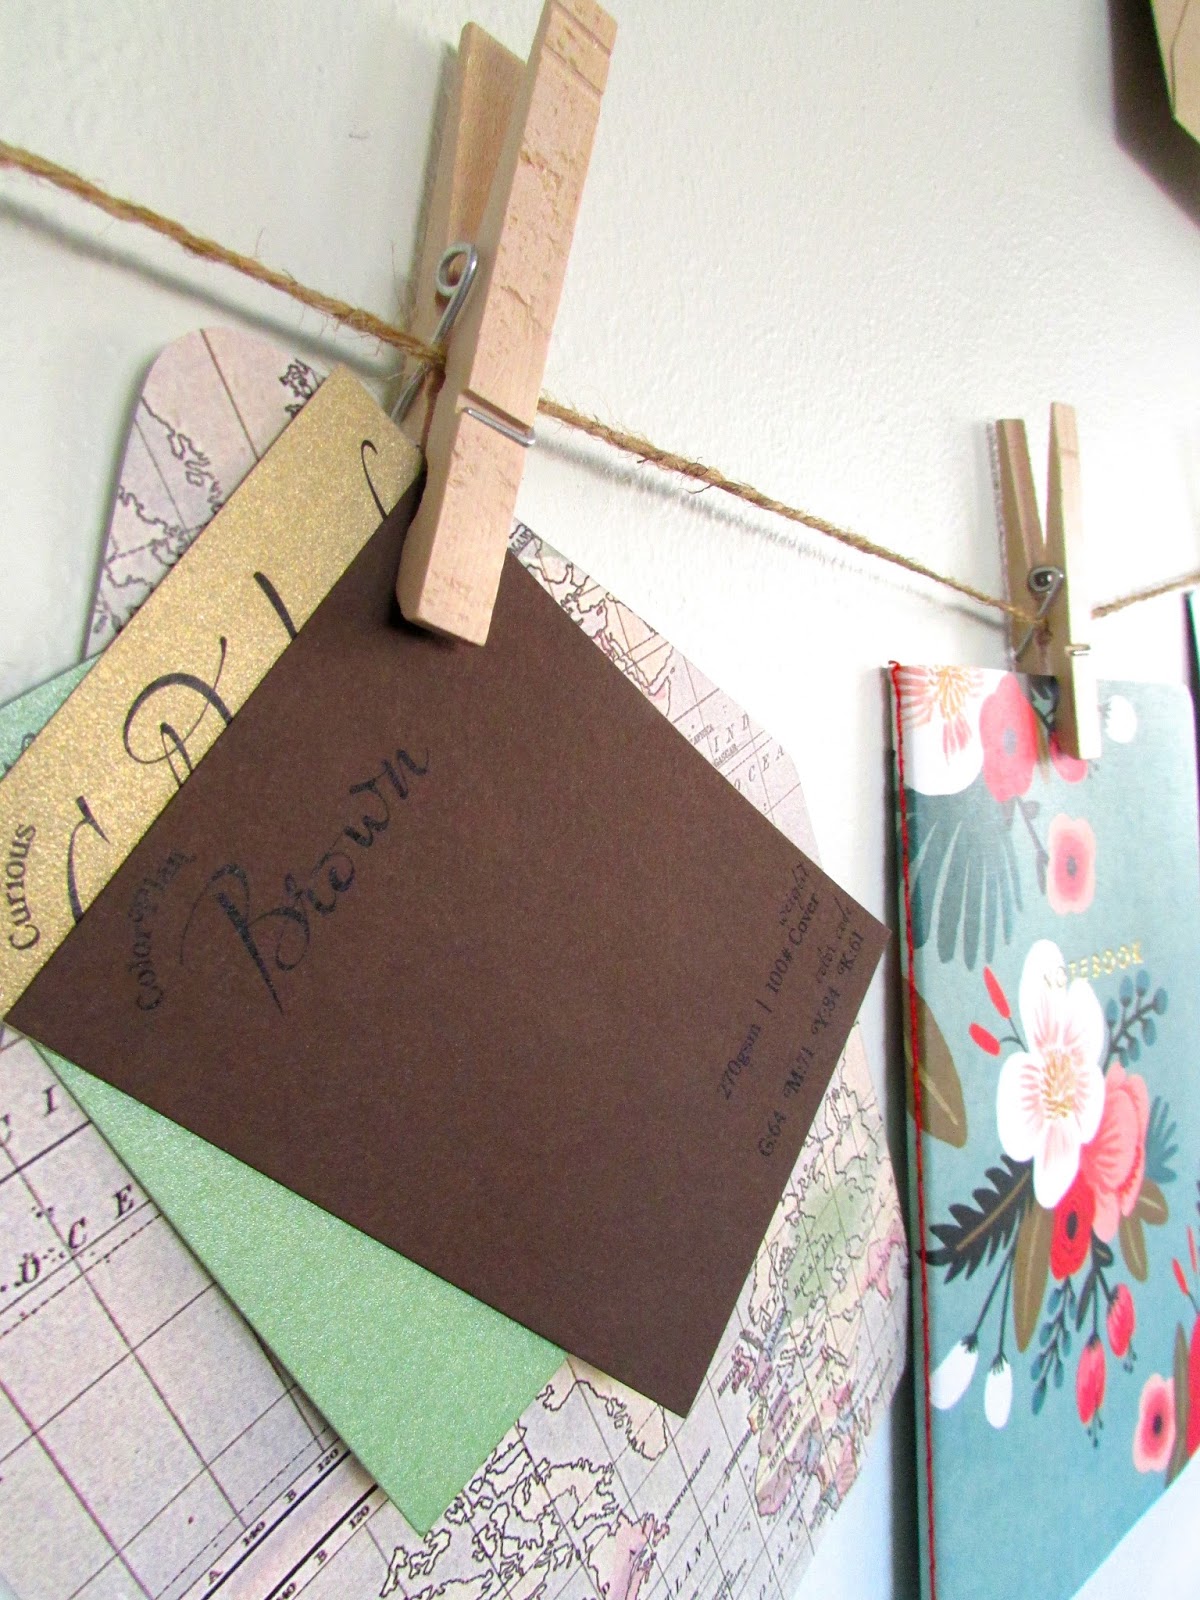
One of my favorite things about the studio is its simplicity. If you were to walk into my studio before this clothesline was created, you would have probably found stationary, samples, liners and envelopes scattered everywhere. A few storage boxes, thumbtacks and twine later, we now have a much more organized system.
The most difficult task with this project, however, was figuring out which wall would work best. I didn't want to add thumbtacks to the wall (
which I suppose you could
). I wanted to use the window/door moldings so they would be less visible.
If you aren't interested in hanging stationary, you could always use this idea to hang photos, inspirational quote, important dates etc.


Supplies:
-thick twine
-clear thumbtacks
-hammer
-scissors
-clothespins
1. Measure wall height and determine how many hanging ropes you want.
2. Divide the wall evenly and sketch where the thumbtacks should go.
3. Hammer thumbtacks to the molding/wall.
4. Measure twine and tie to thumbtacks. Remember the cards will pull the twine down - leave extra room.
5. Grab your clothespins and begin stringing your inspiration!