
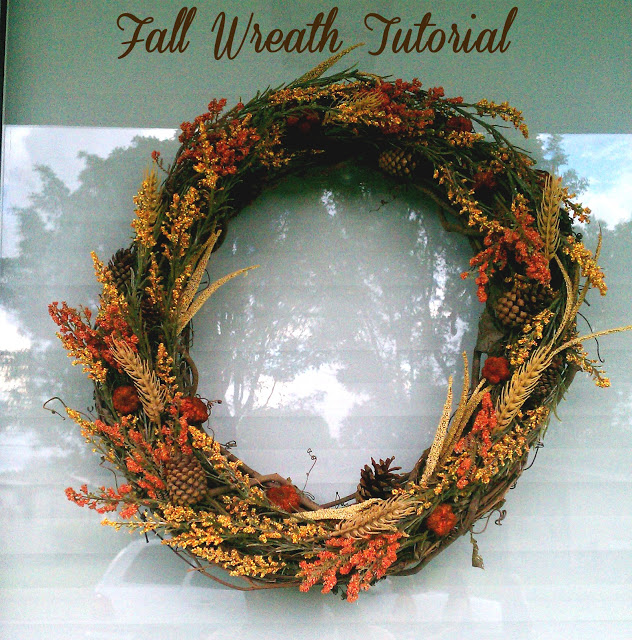
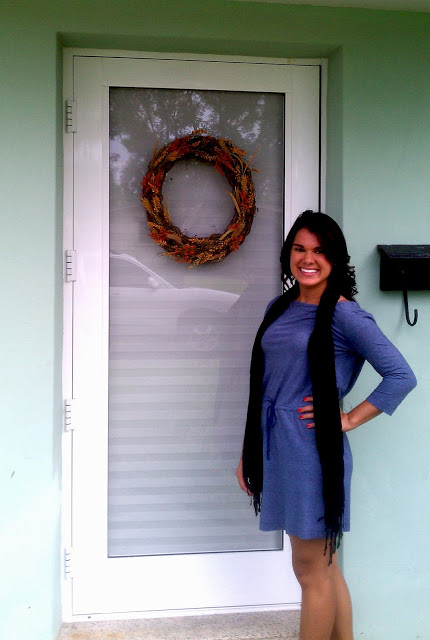
There is nothing more cozy than coming home to a welcoming wreath! Believe it or not, I can usually tell the neighborhood homemakers by their front door. Am I the only one who thinks these things?
Well, anyways...as soon as we got our new front door, I knew I had to make a wreath & what better season to have a wreath than fall.
Materials Needed:
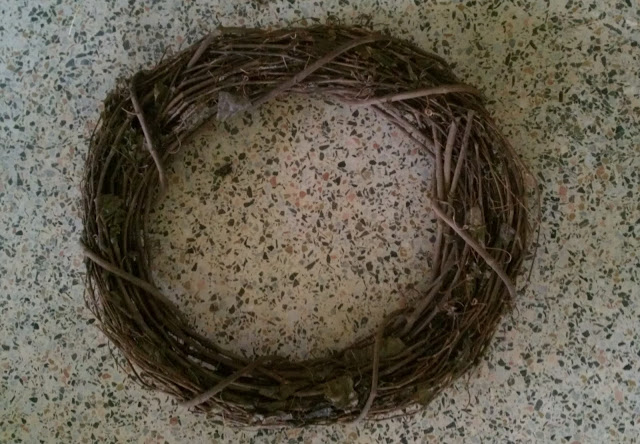
- a natural wreath (I used a 24" one)
- small bag of pine cones and orange pods
- hot glue gun
- wire cutter
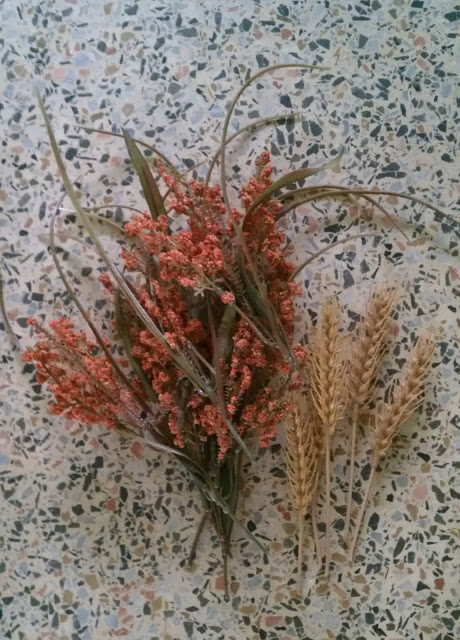
- a handful of artificial wheat stalks
- artificial orange yarrow stems
- artificial yellow caspia stems
1. Start by laying all of the materials out in piles. Cut the different stalks down to the right size. This way, it is easier to lay them on the wreath before being glued.
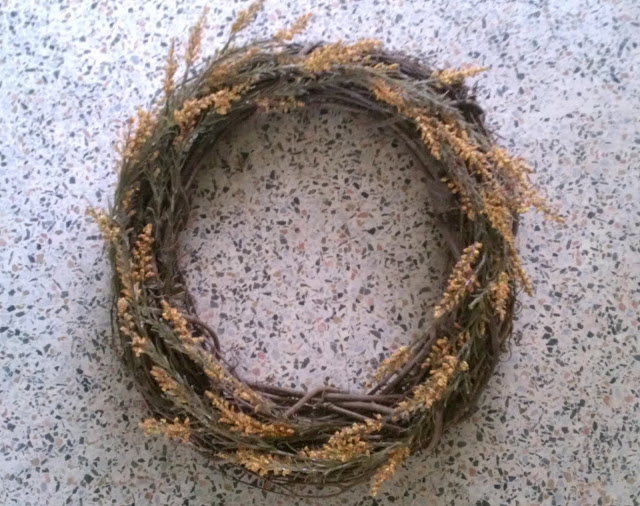
2. Lay the yellow caspia stems all around. Make sure you stay in the same direction from start to finish.
3. Place the orange stems and wheat stalks throughout.
4. Place the cones and pods all around.
5. Once you have the wreath that you want, take everything off & begin to glue one by one!
My rule of thumb is generally to make everything symmetrical. Once I have everything on the wreath, I then gently remove it all and place it down so I can remember where each piece went.
Lastly, I begin to glue all of the pieces to the wreath one group at a time. Example: glue all of the yellow caspia, then move onto the orange yarrow stems etc.
To hang: I used a command hook because our door is glass and I wanted the hook to be invisible. Command hooks are really great for hanging wreaths without leaving any marks your door!
Thanks for reading! Hope you enjoyed this tutorial!
Well, anyways...as soon as we got our new front door, I knew I had to make a wreath & what better season to have a wreath than fall.
Materials Needed:
- a natural wreath (I used a 24" one)
- small bag of pine cones and orange pods
- hot glue gun
- wire cutter
- a handful of artificial wheat stalks
- artificial orange yarrow stems
- artificial yellow caspia stems
1. Start by laying all of the materials out in piles. Cut the different stalks down to the right size. This way, it is easier to lay them on the wreath before being glued.
2. Lay the yellow caspia stems all around. Make sure you stay in the same direction from start to finish.
3. Place the orange stems and wheat stalks throughout.
4. Place the cones and pods all around.
5. Once you have the wreath that you want, take everything off & begin to glue one by one!
My rule of thumb is generally to make everything symmetrical. Once I have everything on the wreath, I then gently remove it all and place it down so I can remember where each piece went.
Lastly, I begin to glue all of the pieces to the wreath one group at a time. Example: glue all of the yellow caspia, then move onto the orange yarrow stems etc.
To hang: I used a command hook because our door is glass and I wanted the hook to be invisible. Command hooks are really great for hanging wreaths without leaving any marks your door!
Thanks for reading! Hope you enjoyed this tutorial!